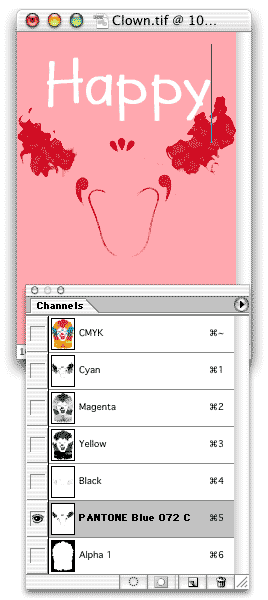
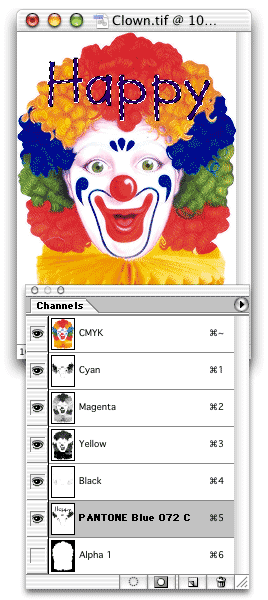
Updated for CC Jun 30, 2016
Let’s face it, most of us set type over our Photoshop images using a page layout program (i.e., Adobe InDesign) or an illustration program (i.e., Adobe Illustrator). This allows us to easily define and use a spot color, and has the added benefits of crisp edges on the type, allows knock out of the underlying image and fully editable type. But what if you want to create a spot color in Photoshop and apply it to the type or other graphic elements? Can you do it? Sure, but it’s a bit confusing. Let’s see if I can help.
Let’s start with some basic concepts. Spot colors, stored in Color Libraries in Photoshop, are pre-mixed inks that are used in addition to, or instead of, CMYK inks. We typically use spot colors when we need to be sure that we are getting the same color every time (i.e., a corporate color) or to print a color that is outside the CMYK gamut. Spot color is intended for images that will be printed to film, not for images printed on desktop printers or for electronic distribution.
Define a Spot Color Channel
First you need to define one, or more, spot colors in your Photoshop document.
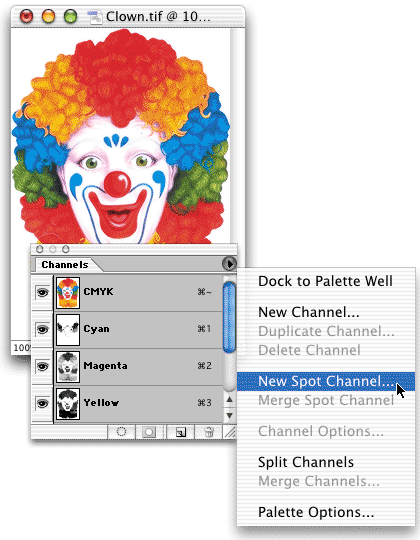
- Window > Channels.
- Pick New Spot Channel from the panel pop-up menu in the top right corner.
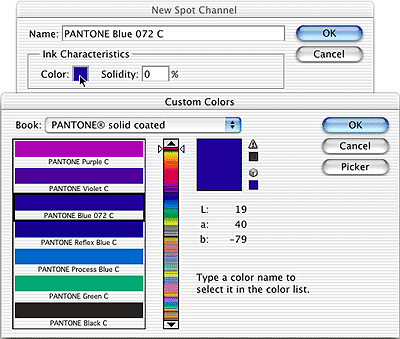
- Click the color box to open the Color Picker.
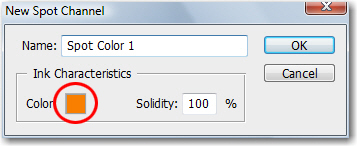
- Select the Color Libraries button.
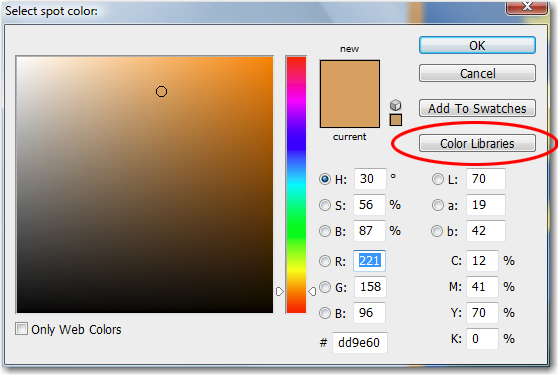
- Pick your custom color system from the Book list. In my example, I choose PANTONE solid coated. Just type in your color name—there is no text box for the number in the dialog box, but it still works. I typed 152.
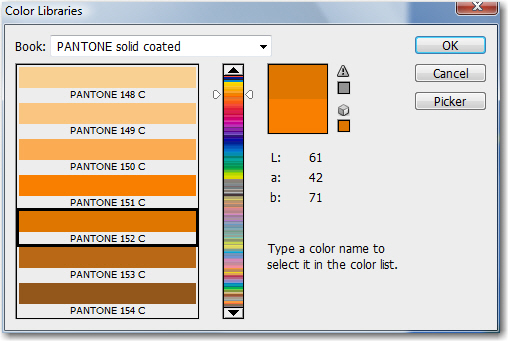
- When you see your color appear, click OK.
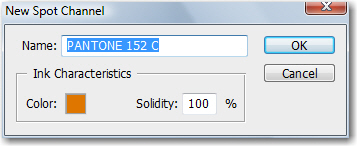
- Change the Solidity to 100%, click OK. (Solidity lets you simulate on‑screen the density of the printed spot color but has no effect on the printed separations. A value of 100% simulates an ink that completely covers the inks beneath (such as a metallic ink); 0% simulates a transparent ink that completely reveals the inks beneath (such as a clear varnish).).
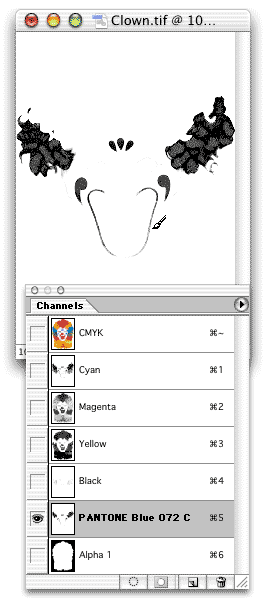
- Your spot color channel is added to the Channels panel—don’t worry that it just looks white!
Applying Spot Color
Because spot colors print on top of a fully composited image, you may need to remove the base color so that it doesn’t show through a semi-transparent spot-ink color when printing. We’ll handle that with a cut and paste sequence as we apply the color.
- Tap the letter D on the keyboard to reset the default colors to Black and White.
- Select the area where you would like to use a spot color. In my example, I selected a border around the image. Make sure you are on the same layer as the selected pixels, in my case, that’s the Background layer.

- Select the composite channel in the Channels panel. (If you are working in RGB, click the letters RGB in channels panel. For CMYK, click the letters CYMK; for grayscale, click the word Gray.)
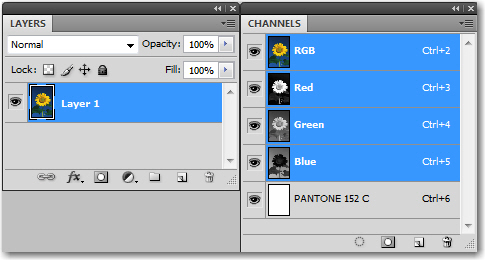
- Choose Edit > Cut to cut the selected pixels to the clipboard.
- Select the Pantone 152 channel in the Channels panel.
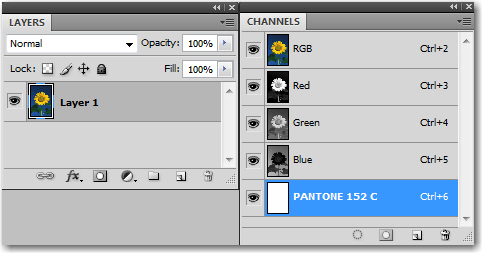
- Choose Edit > Paste to paste the selected pixels into the spot color channel.

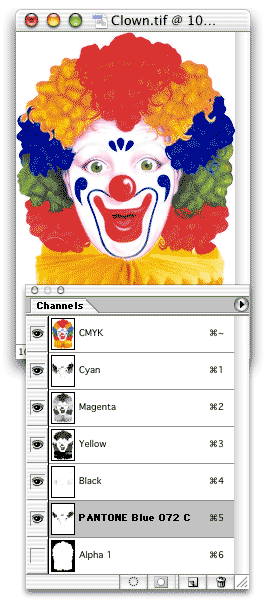
- Ah ha! Now you know this is working.
Applying Solid and Screened Areas of your Spot Color
If you just need a color block, like the one above, you can also apply your spot by simply filling an area with black, while your color channel is active. Solid black will give you 100% opacity of your spot. Less than 100% black will give you a tint.
- Tap the letter D on the keyboard to reset the default colors to Black and White.
- Make a selection (mine is a wave).
- Click on the Composite channel in the Channels panel. (See step 3 above.)
- Press Backspace or Delete to remove the pixels within the selection.

- Select the Pantone 152 channel in the Channels panel.
- Press ALT+Backspace (Mac: Option+Delete) to fill the selection. Because the spot color channel is active, the result is 100% of the spot color.
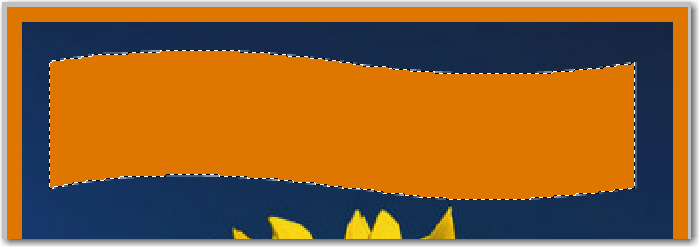
- Pick Edit > Undo so that we can try adding a tint.
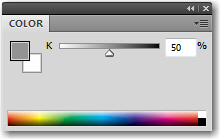
- Use the Color panel to define a 50% black foreground color.
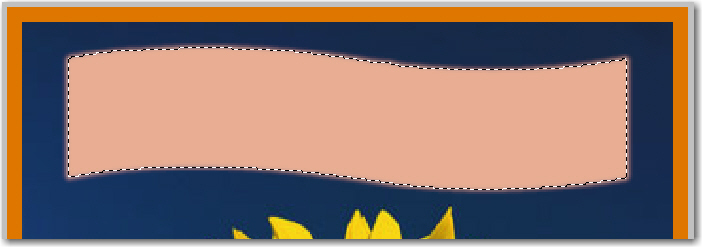
- Press ALT+Backspace (Mac: Option+Delete) to fill the selection. There’s your tint: filling with 50% black on the spot color channel results in a 50% tint of the spot.
Applying your Spot Color to Text
I know we are mid-way through 2016, and that Photoshop has had editable type layers for close to 20 years, so you may need to read the next sentence two or three times to fully comprehend it. Spot color channel text is not editable. Really. So type carefully. Proof carefully. Or go work in Illustrator or InDesign. If you chose to apply spot color to type in Photoshop, you are going to need to use a type mask if you want to apply a spot color to text.
- Press the letter D on the keyboard to reset the default colors to Black and White.
- Select the Type tool and click where you want to add text. A red mask appears over the artwork, and you have a blinking insertion point cursor.

- In the Options bar, set your typeface, style and size.

- Type in your text. (I added a warp to match the wave shape.)
- Move the Type tool off the text to gain temporary access to the Move tool. Drag to position the text. Don’t actually switch to the Move tool, or you will commit the Type edits.

- When you deselect, it’s done, so make sure you are satisfied before you tap Ctrl D (Mac: Cmd D) to drop your selection.

Printing your Spot Colors
My best advice on any printing issues is to talk with your commerical printer or print service provider. They can tell you exactly what you need to do to output the job. If you are looking for a good online resource, check out Corey Barker’s excellent post on Planet Photoshop: http://www.planetphotoshop.com/working-with-spot-color-channels.html.
