Apa tinta itu ?
Tinta adalah cairan yang diberi zat pewarna (Pigment) yang bertujuan supaya warna bisa direpresentasikan ke sebuah media (man made) yang bisa menerima atau mengikat cairan tersebut sehingga memberi warna pada media tersebut.
Komponen dalam tinta
Tinta dibuat dari campuran beberapa komponen antara lain pelarut, pigmen, lemak, cairan resin dan beberapa senyawa kimia lain yang berfungsi untuk mengatur kekentalan, ketebalan tinta serta penampilan tinta setelah kering.
Jenis Tinta Digital Printing
Dalam digital printing kita akan mengenal :
- Waterbased ink (tinta yang pelarutnya dari air/berbasis air) lebih dipakai untuk aplikasi Indoor
- Solvent Based ink (tinta yang pelarutnya dari minyak/berbasis solvent) banyak untuk dipakai untuk aplikasi Outdoor
Kedua jenis ini masing – masing masih ada turunan jenis tinta lagi yang biasa dipakai dalam digital printing.
Macam Tinta Sesuai Jenis Pelarut
Waterbased Ink :
- Dye Ink
- Pigment Ink
- Sublimation Ink
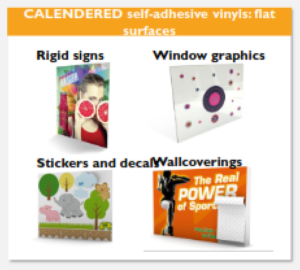
- UV Ink
- Latex Ink
Solventbased Ink :
- Solvent Ink
- Eco-Solvent Ink
DYE INK
Adalah jenis tinta waterbased yang paling banyak digunakan, memiliki komposisi air (kandungan airnya lebih banyak) dan pigment (zat warna) serta senyawa kimia lain.
Tinta jenis ini digunakan untuk printer – printer desktop yang sering kita pakai untuk cetak dokumen, foto dll. Dan media yang dipakai pun sangat umum. Hampir semua jenis kertas dokumen bisa terima.
Ciri/karakter tinta jenis ini :
- Tidak tahan air
- Tidak tahan sinar UV
- Tidak tahan gores
- Harus dilaminasi
- Hanya untuk media berunsur kertas
- Umur yang pendek (3 bulan indoor)
PIGMENT / DURABRITE INK
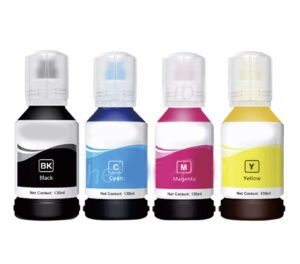
Adalah jenis tinta waterbased yang memiliki komposisi air (kandungan airnya tidak banyak), kandungan pigment (zat warna) lebih banyak serta senyawa kimia lain. Sehingga warna dari tinta jenis ini lebih terang dan lebih tajam daripada tinta Dye.
Tinta jenis ini banyak digunakan untuk cetak foto dan media yang dipakai hampir sama dengan Dye ink
Ciri/karakter tinta jenis ini :
- Tahan air
- Tahan sinar UV
- Tidak tahan gores
- Harus laminasi
- Hanya untuk media berunsur kertas
- Umur lebih panjang (6 bulan indoor)
SUBLIMATION INK
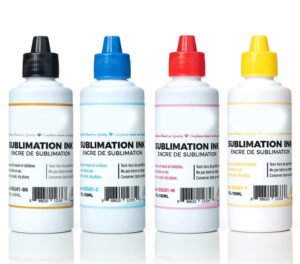
Adalah jenis tinta waterbased yang memiliki komposisi air (kandungan airnya tidak banyak), pigment (zat warna), minyak serta senyawa kimia lain. Tinta jenis ini akan beraksi terhadap panas.
Tinta jenis ini banyak digunakan untuk sablon kaos. Yang mana dibutuhkan kertas seperti HVS atau kertas sublim sebagai perantara transfer ke media/kain (umumnya kain yang mengandung 30% polyester)
Ciri/karakter tinta jenis ini :
- Lebih tahan air
- Lebih tahan sinar UV
- Hanya untuk media berunsur kertas
- Membutuhkan panas untuk pengaplikasian
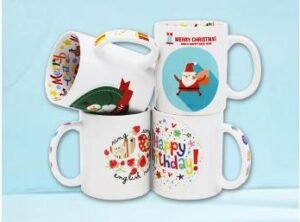
Contoh Aplikasi Tinta Sublim


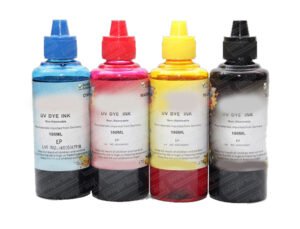
UV (ULTRA VIOLET INK)
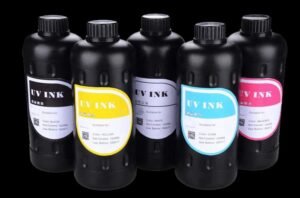
Adalah jenis tinta yang juga masuk kategori waterbased karena memiliki komposisi air (kandungan airnya tidak banyak), pigment (zat warna) serta senyawa kimia lain yang bereaksi terhadap sinar UV. Jadi jenis tinta ini harus menggunakan sinar ultraviolet saat proses cetak.
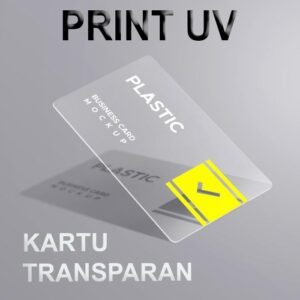
Tinta jenis ini bisa digunakan untuk cetak di media keras/rigid seperti kayu, acrylic dll.
Ciri/karakter tinta jenis ini :
- Instant dry (tinta yang langsung kering)
- Ramah lingkungan
- Tahan air
- Tahan gores
- Tidak perlu laminasi
- Aplikasi beragam, karena hampir bisa disemua media, baik flexible atau rigid, bisa indoor dan outdoor
- Hasil cetak yang bertekstur
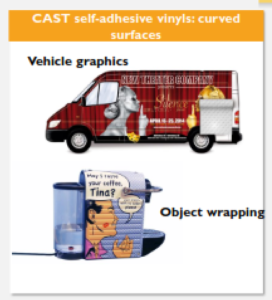
Contoh Aplikasi Tinta UV

LATEX INK
Adalah jenis tinta yang juga masuk kategori waterbased karena memiliki komposisi air (kandungan airnya tidak banyak), pigment (zat warna) serta senyawa kimia lain, salah satunya adalah partikel Latex yang akan bereaksi terhadap panas.
Tinta Latex adalah tinta yang berbeda dengan tinta-tinta waterbased lain yang mana ada satu tinta yang berfungsi sebagai cairan pengikat tinta sehingga tinta Latex bisa diaplikasikan ke hampir semua media.
Ciri/karakter tinta jenis ini :
- Instant dry
- Ramah lingkungan
- Tahan air
- Tahan gores
- Tahan sinar UV
- Tidak perlu laminasi
- Aplikasi beragam karena hampir bisa disemua media baik flexible atau rigid, dan bisa untuk indoor dan outdoor
Contoh Aplikasi Latex
SOLVENT INK
Solvent adalah salah satu turunan dari minyak bumi yang sudah dicampur dengan zat-zat lain, Yang mana salah satu penggunaannya untuk bahan dasar campuran tinta, karena memiliki beberapa sifat pelarut yang baik.
Unsur dari tinta solvent adalah Solvent + Pigment + senyawa kimia lain.
Ciri/karakter tinta jenis ini :
- Berbau tajam
- Tahan cuaca
- Tahan sinar UV
- Tidak ramah lingkungan
- Berwarna tajam cenderung gloss
- Penggunaan untuk aplikasi outdoor
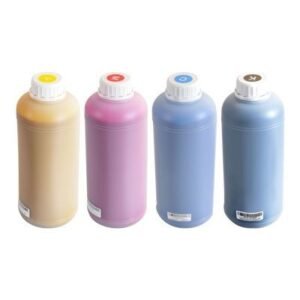
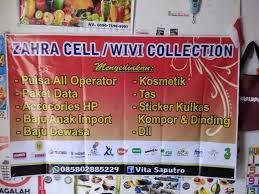
Contoh Aplikasi Tinta Solvent


ECO-SOLVENT INK
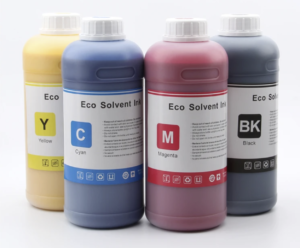
Tinta ini masuk kategori tinta solvent based karena mengandung masih solvent. Unsur tinta ini adalah solvent, air, pigment dan senyawa kimia lain.
Ciri/karakter tinta ini :
- Tidak berbau tajam
- Tidak tahan cuaca
- Tidak tahan sinar UV
- Tidak ramah lingkungan
- Berwarna tajam cenderung gloss
- Untuk aplikasi indoor
Contoh Aplikasi Tinta Eco-Solvent

Demikian jenis-jenis tinta yang umum ada di digital printing, seiring perkembangan teknologi mesin industri digital printing akan ada juga jenis penamaan atau percampuran tinta baru akan tetapi secara basic sumber senyawa tinta/zat percampuran tidak jauh dari pemaparan diatas.
Source: https://idsolusi.co.id/mengenal-jenis-jenis-tinta-digital-printing/


